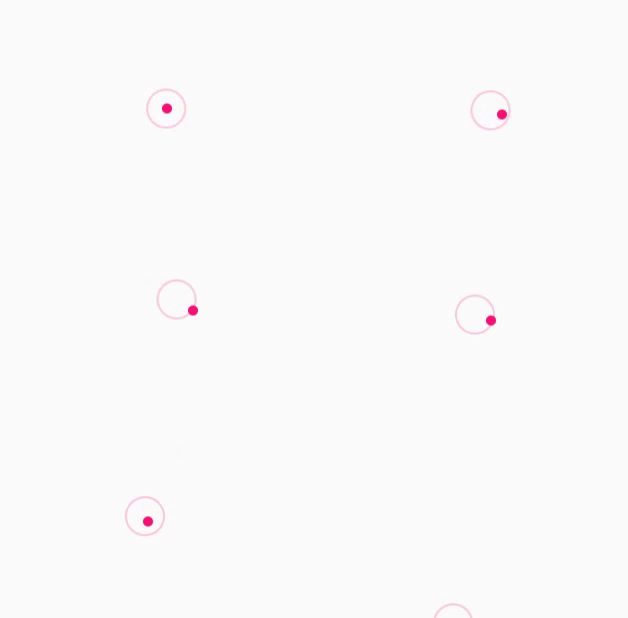
A custom cursor can be added with a single line of CSS, but an interactive one requires more work.
Webflow's approach

You can create a playful custom mouse cursor in a guide to custom cursors in Webflow.
They use Webflow Interactions and the following CSS code:
<style>
@media only screen and (min-device-width: 1024px) and (max-device-width: 1024px) and (orientation: portrait) and (-webkit-min-device-pixel-ratio: 2) {
    body {
        cursor: default;
    }

    .cursor-wrapper {
        display: none;
    }

    a {
        cursor: pointer;
    }
}

@media only screen and (min-device-width: 1366px) and (max-device-width: 1366px) and (orientation: landscape) and (-webkit-min-device-pixel-ratio: 2) {
    body {
        cursor: default;
    }

    .cursor-wrapper {
        display: none;
    }

    a {
        cursor: pointer;
    }
}
</style>
Saddle's approach

Saddle, a Webflow agency, are using a simple but beautiful solution for their custom cursor:
The CSS
<style>
	/* Styles specific elements in this page */
	body:hover .custom-cursor {
		opacity: 1;
	}
	.custom-cursor_body {
		filter: drop-shadow(-1px 4px 4px rgb(13 12 21 / 0.16));
		transition-property: transform, filter, color, opacity;
		transition-timing-function: ease;
		transition-duration: 200ms;
	}
	body:has(a:hover, button:hover, [custom-hover]:hover)
		.custom-cursor_body {
		color: black;
		transform: rotate(8deg) scale(0.75);
		filter: drop-shadow(-0.75px 3px 3px rgb(13 12 21 / 0.16));
	}
</style>
The JavaScript code (requires GSAP)
<script>
	window.addEventListener("load", () => {
		/* custom cursor */
		const cursor = document.querySelector("#cursor");
		gsap.set(cursor, { xPercent: -25, yPercent: -25 });

		window.addEventListener("mousemove", (e) => {
			gsap.to(cursor, {
				x: e.clientX,
				y: e.clientY,
				duration: 0,
			});
		});
	});
</script>
And their on-brand custom SVG cursor
<div class="custom-cursor-wrapper">
    <svg width="29" height="34" viewBox="0 0 29 34" fill="none" xmlns="http://www.w3.org/2000/svg" id="cursor" class="custom-cursor" style="translate: none; rotate: none; scale: none; transform: translate(-25%, -25%) translate(319px, 680px);"><path d="M6.9282 4.16406L22.8564 15.7525L14.7833 17.7682L9 23.7525L6.9282 4.16406Z" fill="currentColor" stroke="white" stroke-width="2" class="custom-cursor_body">
    </path>
    </svg>
</div>
Cuberto to the rescue

Cuberto, a design agency, have shared their Mouse Follower script for free.
Add this script at the footer of your site
<link rel="stylesheet" href="https://unpkg.com/mouse-follower@1/dist/mouse-follower.min.css">
<script src="https://unpkg.com/mouse-follower@1/dist/mouse-follower.min.js"></script>
<script src="https://cdn.jsdelivr.net/npm/gsap@3.12.5/dist/gsap.min.js"></script>
<script src="https://unpkg.com/mouse-follower@1/dist/mouse-follower.min.js"></script>
<script>
    var cursor = new MouseFollower();
</script>
Custom text in Webflow
Add a custom attribute:
- Attribute name: data-cursor-text
- Attribute value: Explore (or any word you seem fit)
Custom text in Elementor
Add a custom attribute:
data-cursor-text|Explore
Cuberto Mouse Follower script Customizations
Replace this part of the code:
<script>
    var cursor = new MouseFollower();
</script>
Customization 1: "Gooey" Cursor
<script>
const cursor = new MouseFollower({
	speed: 0.4, // Cursor movement speed
	skewing: 1, // Skewing effect for the cursor
	skewingText: 3, // Skewing effect specifically for the text in the cursor
});
</script>
Customization 2: Magnetic Cursor
[Will update soon!]
Sites featured in the video:
Saddle - Webflow agency
Cuberto - Design agency


