Secondary animation is a "Web Design Secret" that many premium websites (and website templates) use.
Introduction
This principle was coined by Disney animators in the book "The Illusion of Life". The animators noticed that just moving an object doesn’t “sell” the animation. However, adding another animation driven by the main one makes it come alive. Same applies for web animations.
Say we add an unmasking movement for our images using Webflow interactions and on top of that a scale down animation with a short delay, to make it seem related to the main animation. With both animations in effect, it makes the image reveal effect feel more premium.
Webflow template with secondary animations
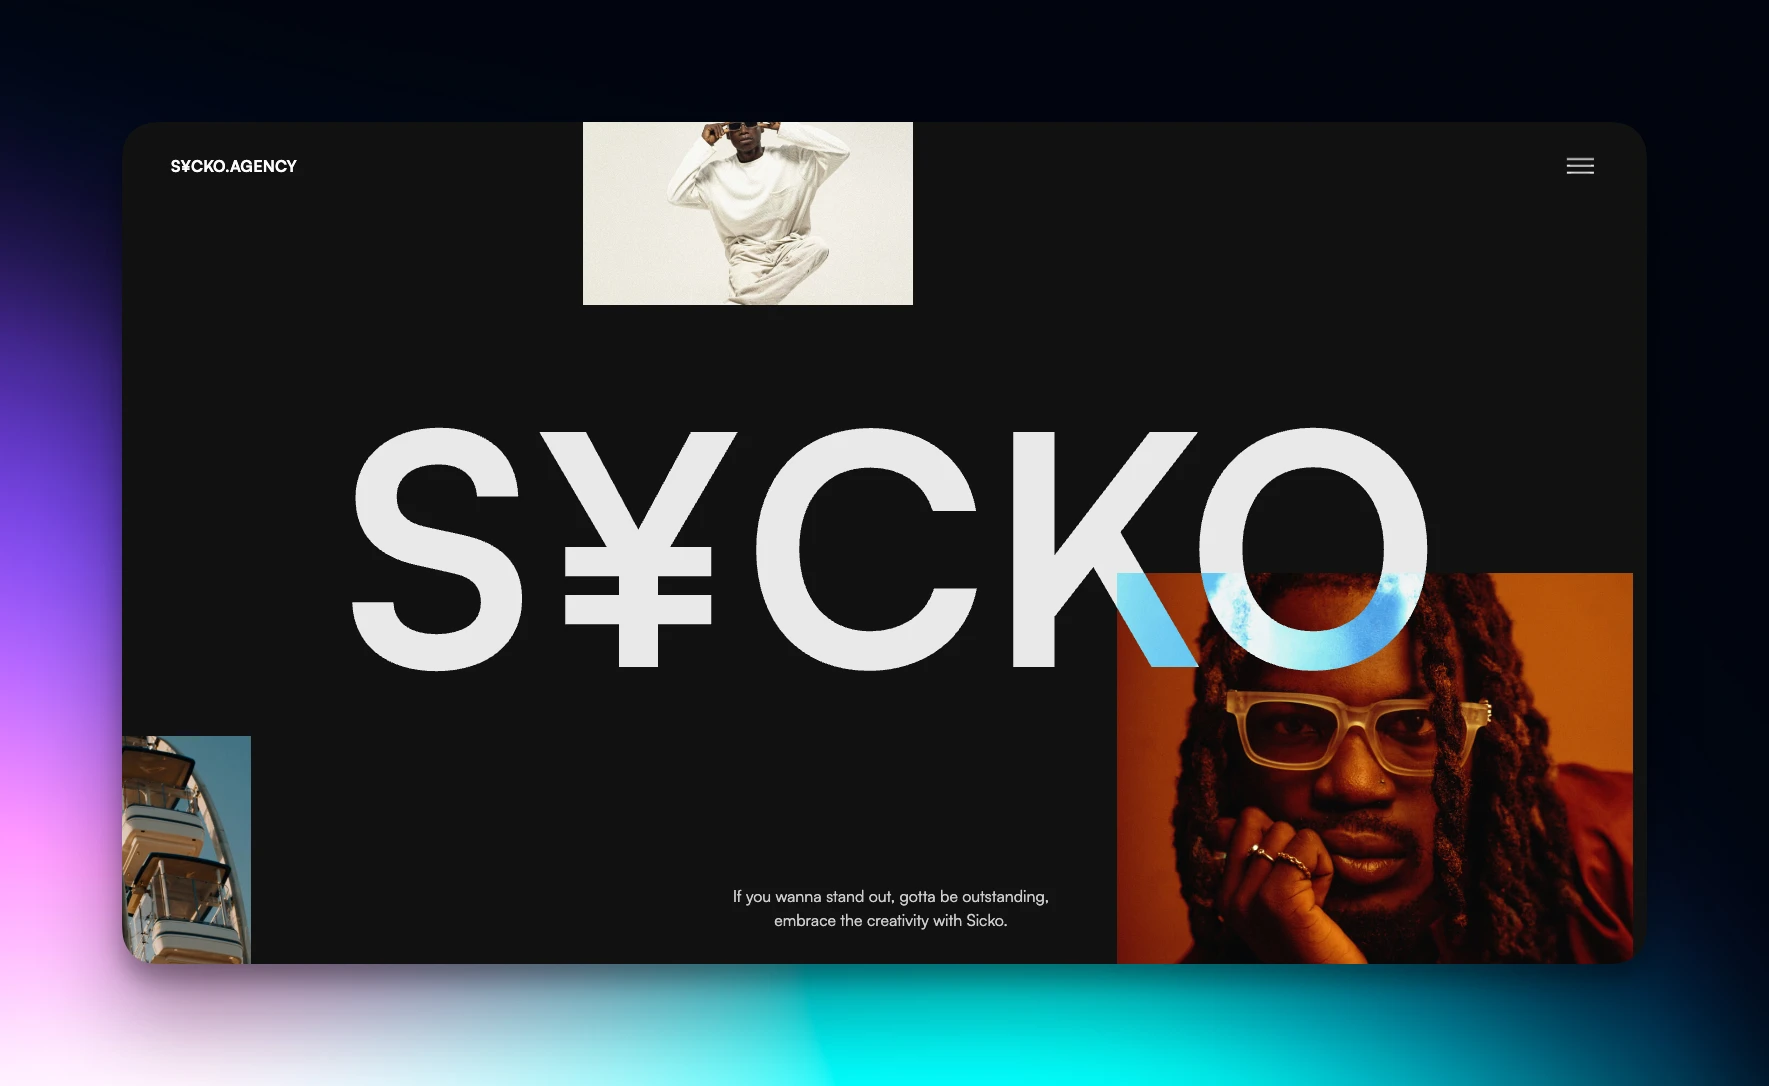
The template demonstrated in the video is Sicko - Website Agency Template for Webflow.
Using Webflow interactions for the animation

The masking frame
First, add a Div above the image layer. It will be absolute positioned ablove the image.
- Div class name: mask-frame
- Fit: Contain
- Position: Absolute [Bottom position, which means 0% on right, left and bottom, and the top on Auto]
- Color: Your background color
- Opacity: 0%
- Events: None
Create the Interaction for the mask
- Choose When Scrolled into View.
- Start a new animation, and call it Mask
- Optional: Add an Offset of 10%
The class of mask-frame will start with:
- Opacity: 100%
- Size: 100% Height
Will animate to:
- Opacity: 100%
- Size: Width 100%, Height 0%.
Both with a 0.4s delay, duration of 0.5s and regular linear easing.
The image frame
I'm using an image from a collection, but you can add an image manually.
- Image class name: project-img
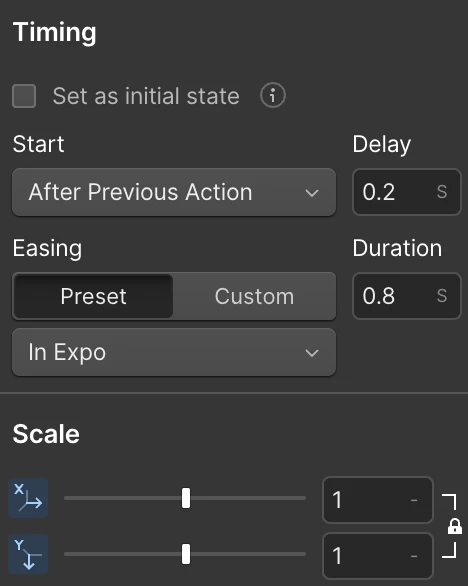
Create the scaledown effect interaction for the image
It will scale from 140% to 100%.
- Choose When Scrolled into View.
- Start a new animation, and call it Project Image
- Optional: Add an Offset of 25%
The class of the image will start with:
- Scale: 1.4 to the X and Y axis
Will animate to:
- Scale: 1 to the X and Y axis
- Delay of 0.2s and Duration of 0.8s
- Easing: In Expo
And that's it!