Create a stretched letter effect with a few lines of CSS code in Webflow or Elementor. No custom JavaScript coding needed.
I saw this hover effect in the beautiful Webflow template Vortex by the very talented Maxim White. I had to reverse-engineer the effect. I thought to myself: How can this be done with no advanced coding?
The secret to it: Variable Fonts
TL;DR: Code for stretching the letter O

You can download the Octane font at Fontesk right away, install it and use the 2 pieces of code.
Add this to the Heading:
TYP<span class="font-stretch">O</span>GRAPHYAdd this CSS Code to add to the page/site.
<style>
.font-stretch {
	font-variation-settings: "wght"10, "wdth"100;
 }
</style>
Code for stretching the letter O, on hover
Use this CSS Code instead:
<style>
.font-stretch {
	font-variation-settings: "wght"10, "wdth"0;
	transition: font-variation-settings 1s ease-in-out;
 }
.font-stretch:hover {
	font-variation-settings: "wght"10, "wdth"100;
}
</style>
What are Variable Fonts?
Variable fonts, in layman's terms, are fonts that have every font weight embedded in them. So, instead of multiple font files, you have one font to rule them all. They “store a continuous range of design variants” according to the Wikipedia article about variable fonts.
This means that other than just normal (weight of 400) or bold (weight of 700) font weights, variable fonts have every font weight between all various font sizes. Which means you can set a custom weight of 580 or 137 to create unique typography for headings.
Not only that, You can also set a custom font width in some cases.
And the best part? They can be animated using CSS, no custom JavaScript needed!
Where can I get free Variable Fonts?
There are dozens of free variable fonts, in multiple languages, on websites such as Google Fonts using the variable fonts filter and V-Fonts among many other sites.
Create the letter stretch effect in 7 steps
I have the text set to:
- Uppercase
- Font size of 14em
- Font weight of 100 (or the thinnest your font of choice supports)
Play around with your font weight and size.
1. Install the variable font
I’ll be using the Octane font, but any variable font will do.
You can download the Octane font at Fontesk.
2. Add text
Webflow: Drag a Text block.
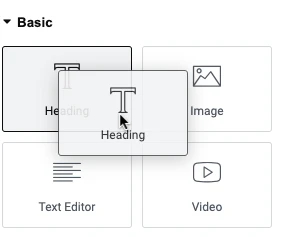
Elementor: Drag the Heading element, as it accepts HTML.
Elementor tip: I suggest setting the HTML Tag attribute to p, as it'll probably be a text rather than a heading followed by a paragraph.
3. Select font
In the editor let’s select our chosen variable font.
3a. Optional: Wrap text with a link
This is optional. If you want the text to be a link then:
Webflow: Drag a Link Block into the Text block.
Elementor: The Heading element already has a Link option.
4. Wrap letter with a <span> tag
Webflow: Click the Wrap with a Span icon using inline text formatting.

Elementor: You’ll have to add it manually to each letter using HTML.
TYP<span>O</span>GRAPHY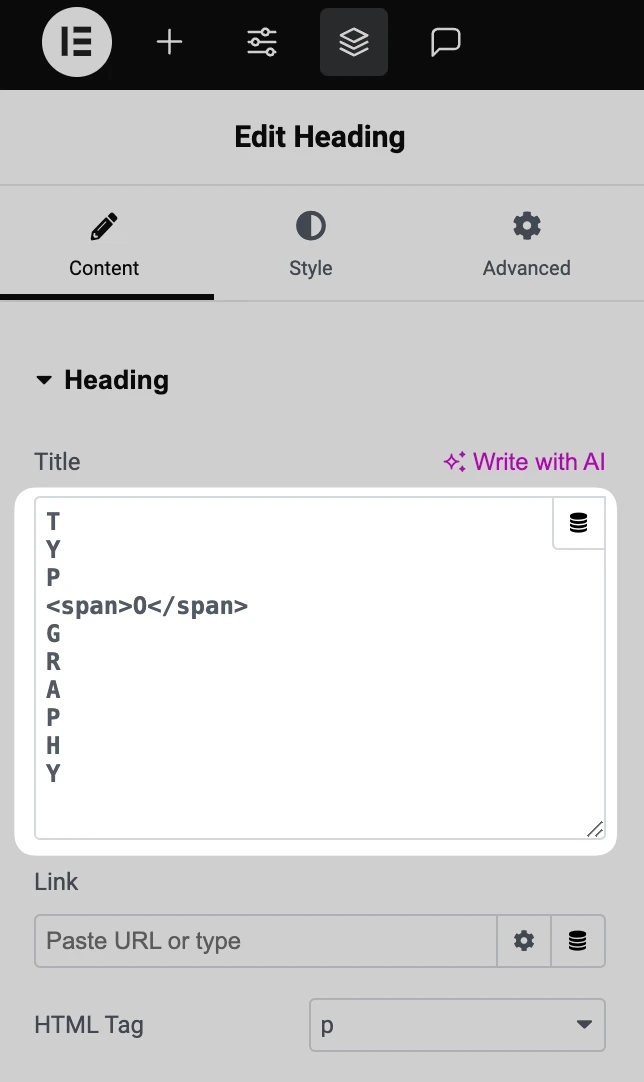
5. Add class "font-stretch" to the <span> tag
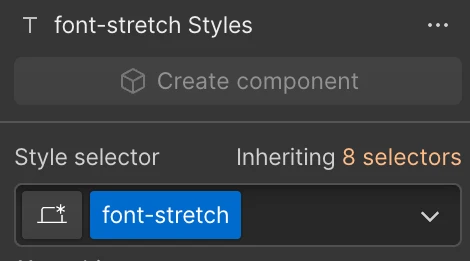
Let’s add the class of font-stretch to the <span> tag.
Webflow: Add class font-stretch to the span tag.
Elementor: You’ll have to add the class name manually using HTML. Screenshot below.
Elementor tip: Make sure it begins with a <span> tag, and ends with </span>. Note the forward slash (/ )there.
TYP<span class="font-stretch">O</span>GRAPHY
6. Optional: Repeat for the other characters
Apply this for the other letters, if needed.
If you’re using Elementor, wrap each line with a span tag like this:
<span class="font-stretch">T</span>
<span class="font-stretch">Y</span>
<span class="font-stretch">P</span>
<span class="font-stretch">O</span>
<span class="font-stretch">G</span>
<span class="font-stretch">R</span>
<span class="font-stretch">A</span>
<span class="font-stretch">P</span>
<span class="font-stretch">H</span>
<span class="font-stretch">Y</span>
7. CSS Code
Embed this CSS code in your project or page.
<style>
.font-stretch {
	font-variation-settings: "wght"10, "wdth"0;
	transition: font-variation-settings 1s ease-in-out;
 }
.font-stretch:hover {
	font-variation-settings: "wght"10, "wdth"100;
}
</style>
7a. Edit: Use Webflow's Custom Attributes instead of CSS
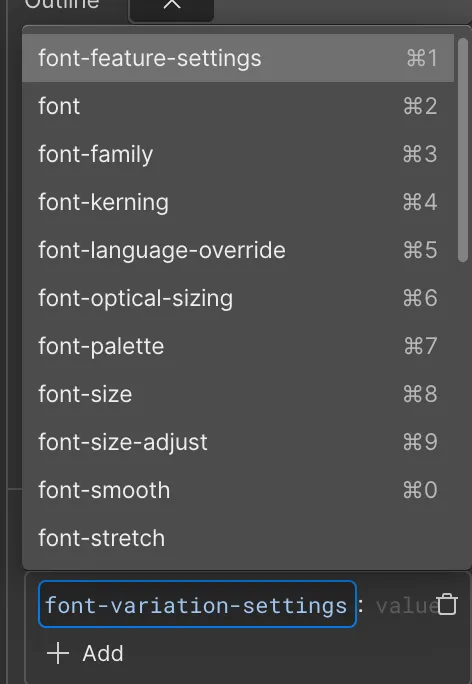
You can also make use of Webflow’s new Custom Attributes feature, and add these values straight into the editor with no CSS code at all.
- Property: font-feature-settings
- Value: "wght"10, "wdth"100
This can applied to a single letter, and a hover state.
"wght"10, "wdth"100Try it out
And there you go. Stretched letter effect, with no JavaScript, by using variable fonts and some CSS/custom properties.
What are your favorite variable fonts to use for your projects?
Bonus: Customizing the effect
Custom variable font width/weight:
Note: use your own values if font if different.
We have 2 parameters:
- "wght" - font weight
- "wdth" - font width
So you can add different values, for example: "wght"100, "wdth"50 etc.
Customize timing
If you want the exact effect just like in the template, replace this line:
.font-stretch {
	transition: font-variation-settings 1s ease-in-out;
}
With this line:
.font-stretch {
	transition: font-variation-settings 3s cubic-bezier(.165, .84, .44, 1);
}
This means the effect will take 3 seconds, rather than 1 with a custom easing.
Customize starting font weight
Note: The Octane font has a very thin font weight of 100. Not every font has such a thin font weight, and you may want to start from a different font weight, such as 300 or 400, depending on the font. Regardless, the code will work with any font weight.
Variable font examples
A few CSS demos from CodePen:


